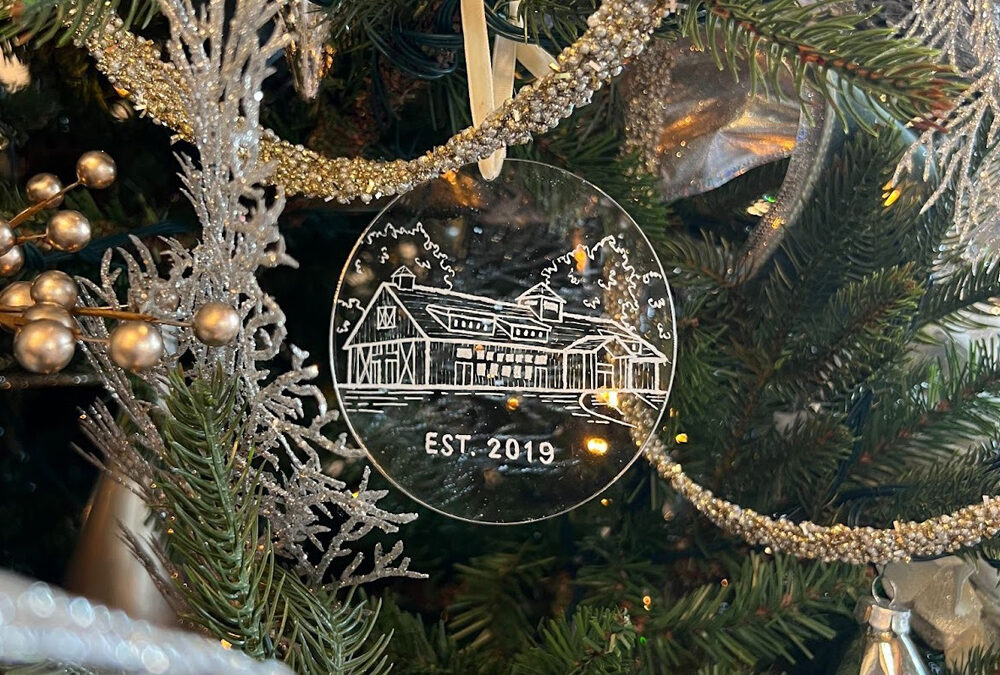
Every year, the holidays at The Barn at Wind’s Edge begin with a spectacular sight – a 14-foot Christmas tree shimmering with champagne tones, soft metallics, and natural textures. Behind that magic is Betty Elmgren, who brings both artistry and care to every branch.
“I guess I was born with an aesthetic bone in my body,” Betty laughs. “When I see something, my mind just gets creative with ideas. I think about how I’d make it look beautiful or peaceful. I think it’s just always been in me.”
Betty’s thoughtful approach turns tree decorating into an act of love and craftsmanship. Below, she shares her step-by-step process for creating a holiday tree that looks elegant, inviting, and perfectly at home – whether it’s 14 feet tall or tucked into the corner of your living room.

1. START WITH THE SPACE
For Betty, every tree begins long before the ornaments come out. “The first thing is to look at the space where your tree will go,” she explains. “Get an idea of how much room you have, so the tree fits properly and doesn’t overwhelm the area.”
Once the location feels right, the setup begins:
- Unfold every branch and fluff it fully.
- Step back and make sure it looks balanced.
- Take your time as this foundation makes all the difference.
One of Betty’s most practical tips? “I always wear gardening gloves,” she says with a grin. “It saves your hands and makes the process a lot more enjoyable.”
2. LET THERE BE LIGHT
Lighting, Betty says, “is where the magic starts.” She keeps her lights plugged in as she goes, so she can see how the glow spreads through the branches.
“I move the lights in and out and some close to the trunk, some near the tips. It makes the tree more intriguing, like it’s glowing from within,” she explains.
A few of her go-to rules:
- Check every strand before you start.
- Keep the lights evenly distributed.
- Don’t overdo it – you want a warm glow, not a spotlight.

3. BUILD FROM THE TOP DOWN
“The first thing I always do after lighting is the tree topper,” says Betty. “It sets the tone for the whole tree.”
Rather than buying a single topper, she builds her own: “I use stems, holly berries, florals and I buy things in threes. Odd numbers just seem to look better.”
Her process:
- Start from the top, angling pieces outward.
- Step back often to make sure it’s balanced from all sides.
- Don’t be shy. “You don’t have to be skimpy on your topper,” she insists.

4. ADD RIBBON OR GARLAND
For Betty, ribbon brings elegance and flow. “I’m a ribbon person,” she says. “I use wired ribbon because it holds its shape.”
Once her topper is in place, she weaves ribbon through the branches, creating soft diagonal loops. “I start near the top and move around the tree like the lines on a candy cane,” she explains. “It takes practice, but it’s worth it.”
Her ribbon rules:
- Anchor the first piece with fine wire.
- Loop and tuck gently – don’t pull too tight.
- Mix in a metallic garland or greenery for texture.

5. FILL WITH PICKS AND FLORALS
This is where the artistry really shows. “I put long-stemmed picks in between the branches – glittered, floral, or with berries,” says Betty. “It fills the gaps and makes the tree more than just a tree.”
Rebecca, The Barn’s owner, loves using large silk flowers. Betty agrees: “They’re beautiful to work with – just tuck the stems deep so you only see the flourish.”
A few of her favourites include:
- Glittered stems for sparkle
- Florals for fullness
- Natural picks for texture and depth

6. HANG THE ORNAMENTS
Once the structure and texture are in place, it’s time for the ornaments. “I think of a diamond-shaped pattern as I go,” Betty shares. “That way you don’t end up with all your red ornaments in one spot.”
Her tried-and-true system:
- Nestle large ornaments deeper into the branches.
- Hang smaller ones closer to the outer tips.
- Mix materials and finishes to create contrast and interest.

We will often get our decorations from:
- Dutch Growers https://www.dutchgrowers.com/
- Michaels https://canada.michaels.com/
- Wilson’s https://wilsonslifestyle.ca/
- Custom Hand-Painted Ornaments from local artisan Paper Ocelot: https://paperocelot.com/
- Canadian Tire https://www.canadiantire.ca/
7. DON’T FORGET THE BASE
When the last ornament finds its place, Betty turns her attention to the bottom. “I use a big roll of glittery mesh under the tree,” she says. “It hides the stand, fills in all the gaps, and sparkles under the presents.”
For a more rustic look, she suggests burlap or a traditional tree skirt, “whatever feels right for your style.”

8. CHOOSE YOUR COLOUR STORY
Colour brings it all together. “I always start with one main colour,” Betty explains. “Last year my daughter’s was navy blue – we paired it with rose gold so it wouldn’t feel too heavy.”
She loves adding metallics like champagne, silver, or copper for balance:
- Pick a main hue that speaks to you.
- Choose a metallic accent to make it shine.
- Add white or natural elements to tie everything together.

9. KEEP IT PERSONAL
At home, Betty has more than one tree including one just for her grandkids. “It’s full of stuffies and soft ornaments – all from Dollarama!” she says, laughing. “They can touch everything, play with it, and nothing breaks. It’s fun for them, and that’s what Christmas is about.”
Whether your tree is themed, rustic, or completely eclectic, she believes one thing matters most: “Put in the things you love! That’s what makes it beautiful.”

10. SEE IT FOR YOURSELF
This month, The Barn at Wind’s Edge unveils its grand holiday tree – a 14-foot showstopper in champagne, silver, and soft teal, with layers of florals and metallic accents. “It’s quite a beautiful tree,” says Betty. “Lots of texture, lots of light. It just feels peaceful.”
Every detail, from the first fluffed branch to the final ornament, reflects her timeless philosophy:
“Take your time. Enjoy the process. A tree should make you feel something when you look at it – togetherness, peacefulness, beauty. That’s what it’s all about.”

Make this season truly special. Stop by The Barn at Wind’s Edge to see our breathtaking holiday tree and discover how effortless it can be to host your next gathering in such a beautiful, festive space.
Recent Comments